
Choose Interior Materials With Confidence: 7 Checks Before Approval
Check material specifications, samples, hardware, installation details and warranty terms before approving your home interior work.
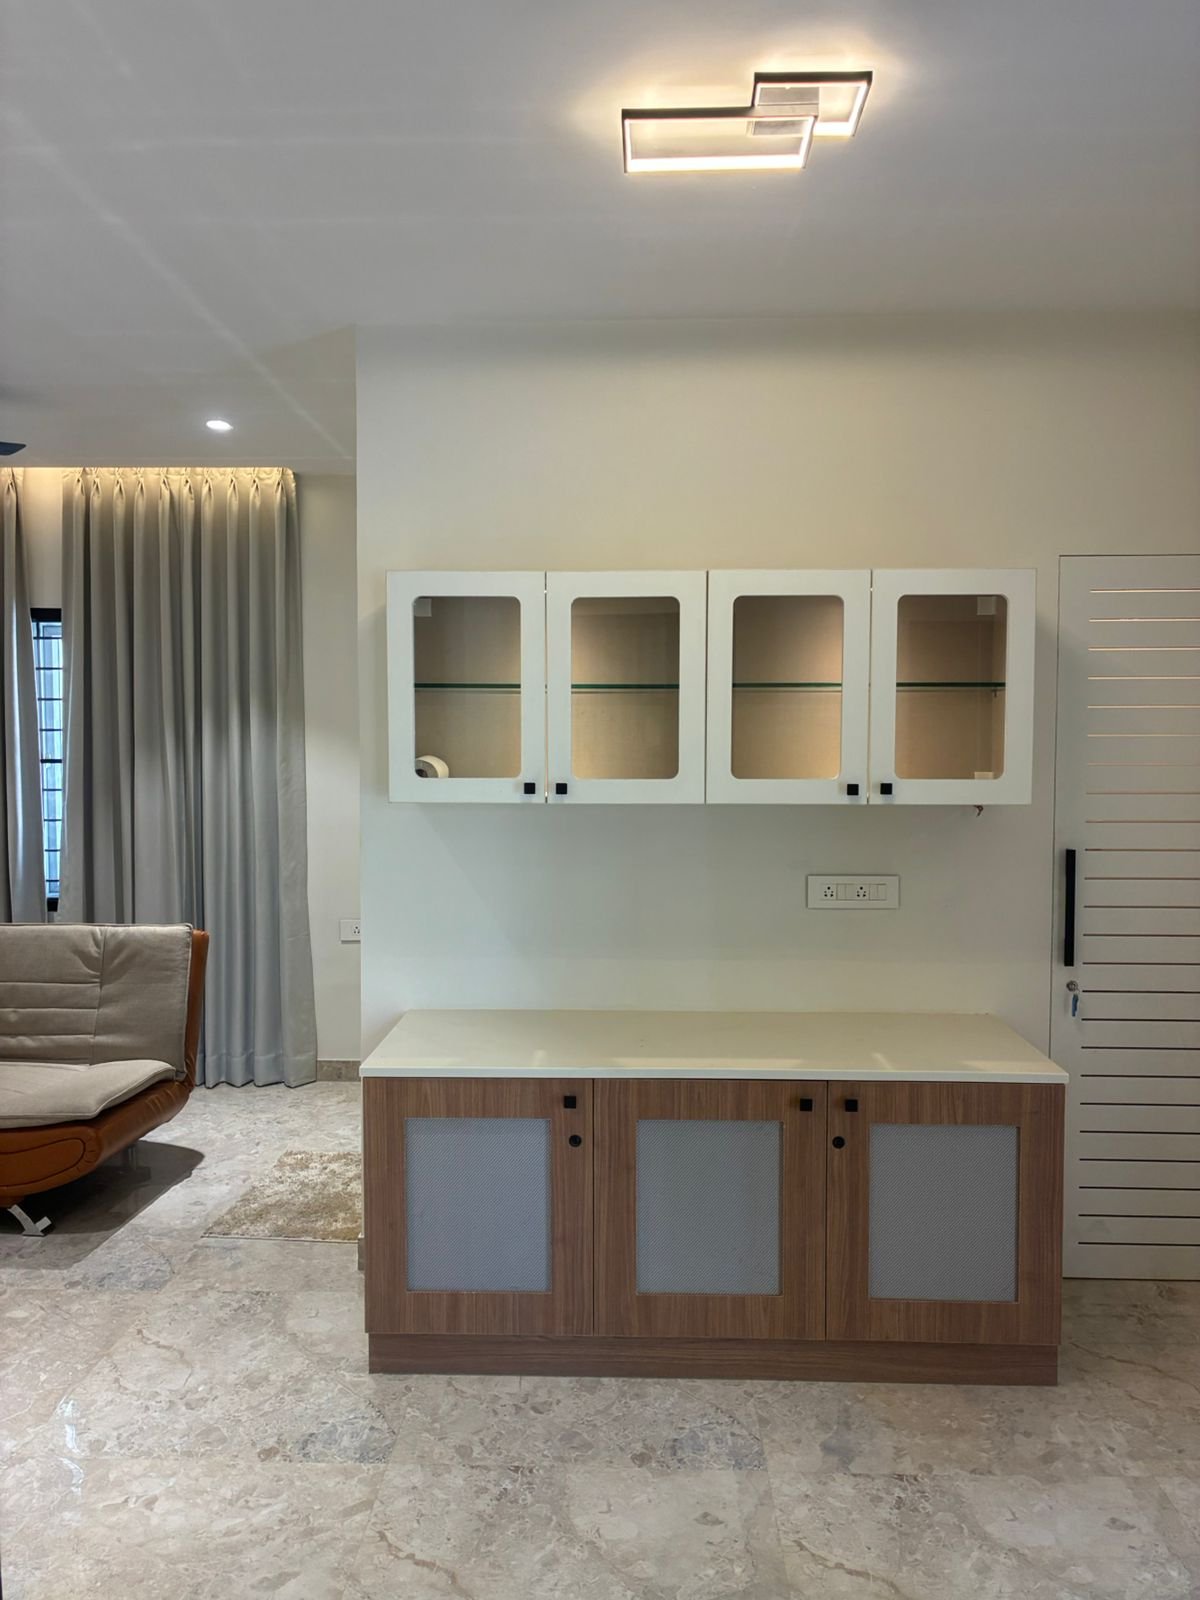
Choose interior materials with more confidence by checking seven things before approval: the intended use, exact material specification, physical finish sample, hardware details, moisture-related design, installation method and written warranty terms. Put the agreed choices in your quotation and drawings. This makes quality easier to discuss and verify instead of relying on a premium-sounding label or a photograph.
For an extra layer of protection, create an acceptance sheet for each major unit before production begins. Record what should be supplied, what evidence will identify it, and what you will inspect at handover. A wardrobe entry might include its internal layout, agreed finish sample and drawer operation. This gives your family and the installer the same reference, making disagreements easier to resolve while keeping everyday functionality at the centre of the decision.
1. Match the material to the job
A dry bedroom wardrobe and a cabinet close to a sink face different conditions. Explain how the space will be used, where water may be present and how the unit will be cleaned. Ask the designer to explain the proposed material’s suitability and limitations for that location.
In a Chennai home, discuss ventilation and any known dampness at the actual site. Material selection does not replace repairing a leak or addressing an underlying moisture problem.
2. Write down the specification
Record the material type, thickness, grade and brand or agreed equivalent where relevant. If a substitution is proposed, request the reason and revised specification before accepting it. Avoid assuming that all products with a similar name perform identically.
3. Review a physical finish sample
Look at the proposed colour and texture under lighting similar to the room where it will be installed. Ask about cleaning instructions, visible joints and the appearance of edges. Screens and photographs may not show colour or texture accurately.
4. Identify the hardware
Ask which hinges, channels, handles and accessories are included. Confirm their intended use and any applicable load limits with the supplier. Try a sample mechanism when possible, particularly for frequently used drawers and shutters.
5. Discuss water and maintenance access
Understand how edges, joints and service openings will be detailed near sinks or other wet areas. Keep plumbing accessible for inspection and maintenance. Ask the appropriate qualified professional to address existing plumbing or electrical issues before enclosing services.
6. Inspect installation and operation
At handover, check alignment, accessible edges, shutter movement, drawer operation and agreed clearances. List defects with photographs and agreed correction dates. A beautiful finish should also function as intended.
7. Read the warranty, not just its headline
Ask who provides coverage, which components are included, how long each is covered, and what exclusions or maintenance requirements apply. Understand how to report an issue and keep the invoice and approved specification. Different components may have different warranty terms.
Frequently asked questions
Does a longer warranty automatically mean a better interior?
No. Consider the covered components, exclusions, provider and service process alongside material suitability and workmanship.
Can I judge material quality from a completed-room photograph?
A photograph helps assess appearance, but cannot verify concealed materials or installation. Ask for written specifications and appropriate product evidence.
View Ria Interiors’ work and discuss your requirements. Before comparing proposals, use our interior budget checklist to make sure each quotation covers equivalent work.